
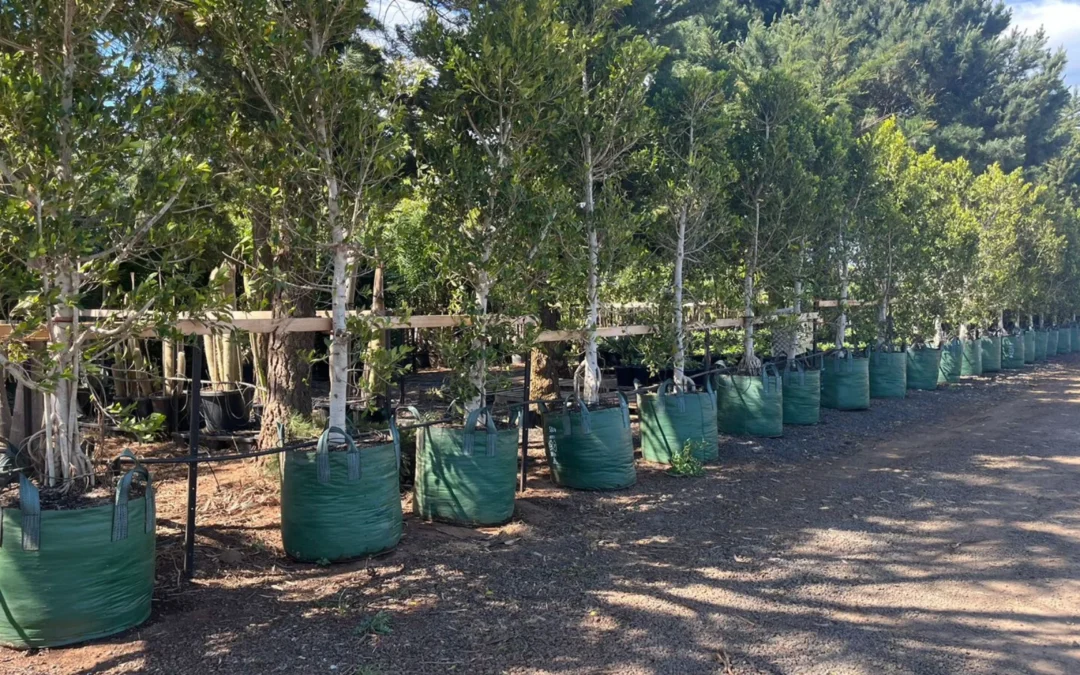
Most people start with a single grow bag. A tomato plant here, some herbs there. It works, so they add a few more, and before long there’s a row of bags along the fence and a watering can that never seems to get a rest. That’s usually the point where it stops feeling casual and starts needing a bit of planning.
If that sounds familiar, what you’re really building is a grow bag garden system. And the part that trips most people up is the watering. This guide covers both: how to lay out a garden that runs on grow bags, and how to put together a grow bag irrigation system so you’re not tied to a hose every evening.
What a Grow Bag Garden System Actually Means
A grow bag garden system is just a planned way of growing in bags instead of a scattered collection of them. Rather than dotting bags wherever there’s space, you arrange them with some thought about sun, access, and water. The plants do better and the whole thing is far less work to look after.
The appeal is easy to see. Grow bags are cheap, they drain well, and you can put them almost anywhere on paving, gravel, a rooftop, a balcony. You’re not stuck with poor garden soil, and at the end of the season the bags fold away. What holds a lot of people back from going bigger is the watering, because more bags means more time with the hose. Sort that out and the rest falls into place.
Planning the Layout
Start with sun. Most vegetables want six hours or more of direct light a day, so watch where the sun actually falls before you commit to positions. It’s a lot easier to place bags well the first time than to shuffle heavy, wet bags around later.
Leave yourself room to walk. Rows with a clear path between them let you reach every plant to pick, prune, and check for pests without treading on anything. If you’re growing on a hard surface, remember the water has to go somewhere when it drains through, so a spot with a slight slope or a drain nearby saves you a soggy patio.
Group plants with similar needs together. Thirsty crops like tomatoes and cucumbers in one section, tougher herbs like rosemary and thyme in another. This matters a great deal once you add irrigation, because plants grouped by water demand can share the same watering schedule instead of fighting over it.
Choosing Bag Sizes
Match the bag to the crop. Big, hungry plants such as tomatoes, courgettes, and peppers need 30 litres or more each. Leafy greens, bush beans, and most herbs are happy in something smaller. Strawberries and salad crops do fine in shallow bags. Keeping a couple of standard sizes rather than a jumble of odd ones makes the garden tidier and the irrigation simpler to plan.
Building a Grow Bag Irrigation System
Here’s the honest truth about grow bags: they dry out fast. The same breathability that gives you healthy roots also lets moisture go quickly, and on a hot day a big bag can need water twice. Doing that by hand across a dozen bags gets old quickly. A grow bag irrigation system fixes it.
Why Drip Suits Grow Bags Best
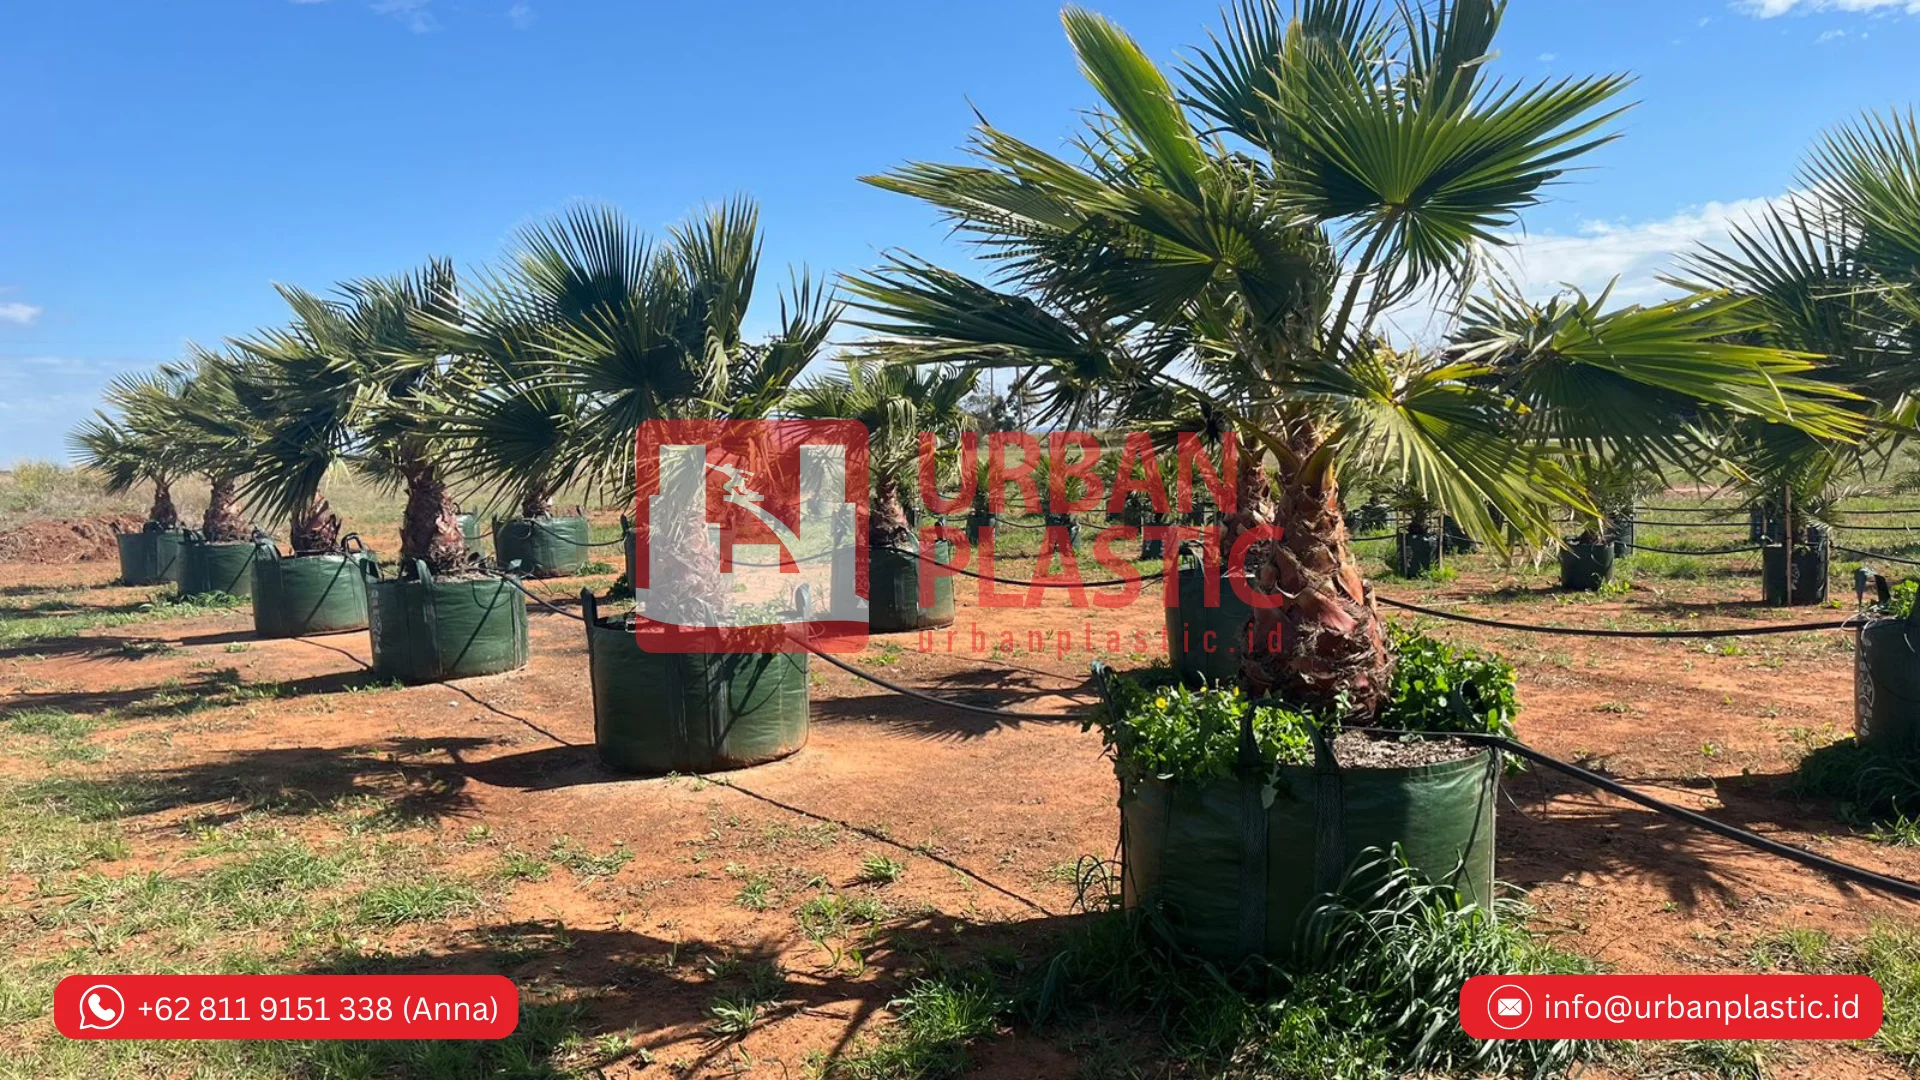
For containers, drip irrigation is hard to beat. Instead of spraying water around, it delivers it slowly right to the base of each plant, straight into the soil where the roots are. Very little is wasted to evaporation or runoff, and because the leaves stay dry, you avoid a lot of the fungal problems that come from wetting foliage. The slow, steady delivery also keeps soil moisture even, which is exactly what fruiting plants want.
The Parts You’ll Need
A basic drip setup for grow bags isn’t complicated. You’ll want:
- A water source, an outdoor tap, or a rain barrel if you’d rather not be on mains water.
- A pressure reducer and filter at the tap. Drip systems run at low pressure, and the filter keeps grit from blocking the emitters.
- A main supply line (poly tubing) running along your rows of bags.
- Small feeder tubes branching off the main line into each bag.
- Drippers or emitters at the end of each feeder tube. One or two per bag depending on its size, with bigger bags needing more.
- Stakes to hold the drippers in place at the base of each plant.
Putting It Together
Run the main line along your rows, keeping it close to the bags. At each bag, punch the main line and push in a feeder tube, then run that tube to the plant and fix the dripper near the stem with a stake. Cap the far end of the main line. Turn the water on low and walk the length of it, checking that every bag is actually getting flow a blocked or popped-out emitter is easy to miss until a plant starts wilting.
The one upgrade worth making from the start is a tap timer. Screw it onto the tap, set it to run for a stretch early in the morning, and the garden waters itself whether you’re home or not. This is the piece that turns a grow bag garden system from a daily chore into something that mostly runs on its own. Battery timers are cheap; the more advanced ones let you set different days and durations.
Dialling In the Watering
There’s no single perfect setting, because it depends on your climate, bag size, and what you’re growing. Start with a short daily run in the morning, then check the bags by pushing a finger into the soil. If it’s dry a few centimetres down, lengthen the run or add a second cycle. In the height of summer, twice a day is normal for big bags. As the weather cools, ease it back. Feeling the soil now and then beats trusting the timer blindly, especially early on while you’re learning what your plants need.
Keeping It Running Well
A grow bag garden system doesn’t ask for much once it’s set up, but a few habits keep it healthy. Check your emitters every so often. They can clog with mineral deposits or algae, and a blocked one starves a plant without any obvious sign until it’s struggling. A quick walk down the rows while the system runs tells you everything.
Watch the corners and edges of the garden, where bags sometimes get less water or more sun. And keep feeding because water drains through so freely, nutrients wash out too, so regular liquid feed through the season keeps plants cropping. If your timer allows it, some growers run a diluted feed through the irrigation itself, though a watering can does the job just as well.
Frequently Asked Questions
Do I need a pump for a grow bag irrigation system?
Usually not. If you’re connecting to a mains tap, there’s already enough pressure in fact you’ll need a reducer to bring it down. A pump only comes into play if you’re drawing from a rain barrel or tank without enough height to create gravity flow.
How often should grow bags be watered?
It varies with the weather and bag size, but grow bags dry out faster than pots, so daily watering is common and twice-daily in hot spells isn’t unusual for large bags. The reliable test is to feel the soil a few centimetres down and water when it’s dry.
Can I water a whole grow bag garden with one system?
Yes. A single drip line off one tap can feed a long row of bags, with an emitter or two at each. Group plants with similar water needs together so the schedule suits all of them, and add a tap timer to automate the whole thing.
Is drip irrigation better than a soaker hose for grow bags?
For containers, drip usually wins because it puts a measured amount of water into each individual bag. Soaker hoses are better suited to garden beds, where you want to wet a continuous strip of soil rather than target separate pots.
A grow bag garden system is really just growing in bags with a bit of planning behind it the right spot, sensible sizes, and plants grouped by what they need. Get that part right and you can grow a lot of food in a small, flexible space. The watering is what makes or breaks it, and that’s where a simple grow bag irrigation system earns its keep. A basic drip setup with a tap timer takes an afternoon to build and hands you back your evenings for the rest of the season. Once it’s running, most of what’s left is picking what you’ve grown.
For more information about Planter Bag please contact: Whatsapp/Mobile Phone: +62 811 9151 338 (Ms. Anna) or Email : info@urbanplastic.id