
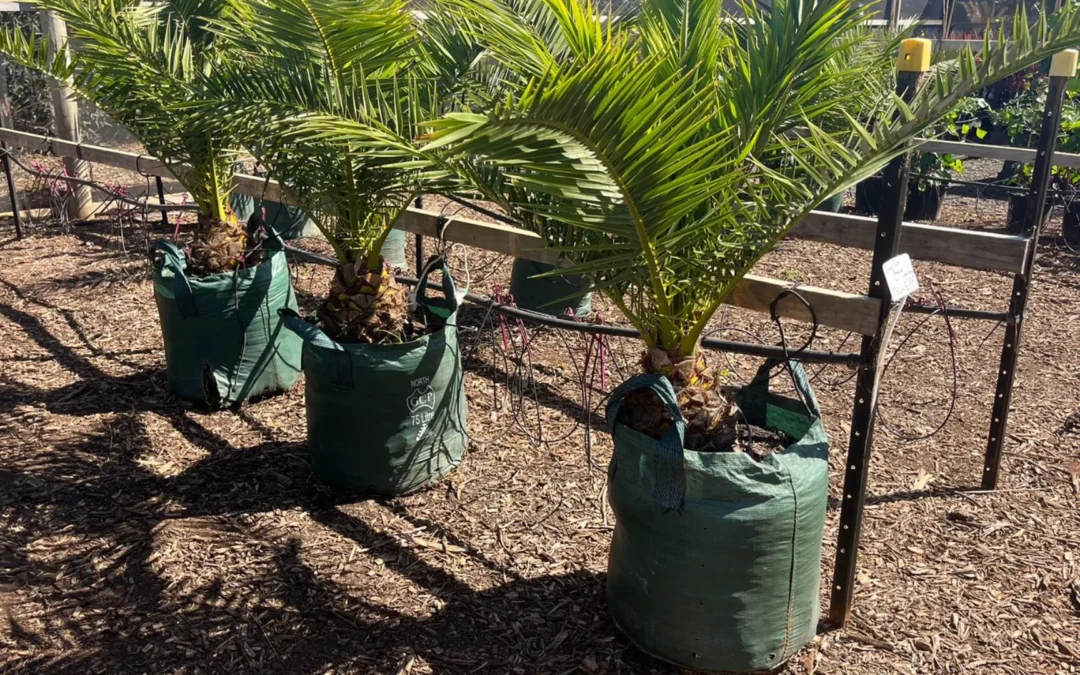
So, you have purchased your first set of woven planter bags and you are ready to start your container gardening journey. That is a fantastic first step! However, because these containers function differently than traditional solid pots, they require a slightly different approach to preparation, soil mixing, and watering.
If you are unsure where to start, do not worry. This comprehensive, step-by-step guide will teach you exactly how to use garden grow bag setups to ensure your plants thrive from day one.
Step 1: Selecting the Right Size
The first step to success is matching the bag size to the plant you intend to grow. A bag that is too small will stunt growth, while one that is too large can hold too much moisture for a tiny seedling.
- Small (3 to 5 Gallons): Ideal for leafy greens (lettuce, spinach), strawberries, and culinary herbs.
- Medium (7 to 10 Gallons): Perfect for fruiting vegetables like peppers, eggplants, and determinant (bush) tomatoes.
- Large (15+ Gallons): Necessary for heavy feeders and large root systems like indeterminate tomatoes, potatoes, zucchini, and small fruit trees.
Step 2: Preparing the Perfect Soil Mix
This is the most critical step. You cannot simply dig up heavy clay dirt from your backyard and put it in a grow bag. The dirt will compact, preventing the bag from breathing.
You need a lightweight, fluffy, and moisture-retentive potting mix. Because grow bags drain water very efficiently, adding ingredients that hold onto moisture is essential. A great DIY recipe is:
- 40% High-quality compost (for rich nutrients)
- 40% Coco peat or Peat moss (to hold moisture)
- 20% Perlite or Pumice (to ensure the mix stays airy and light)
Mix these ingredients thoroughly in a wheelbarrow or a large tarp before filling your bags.
Step 3: Filling and Planting
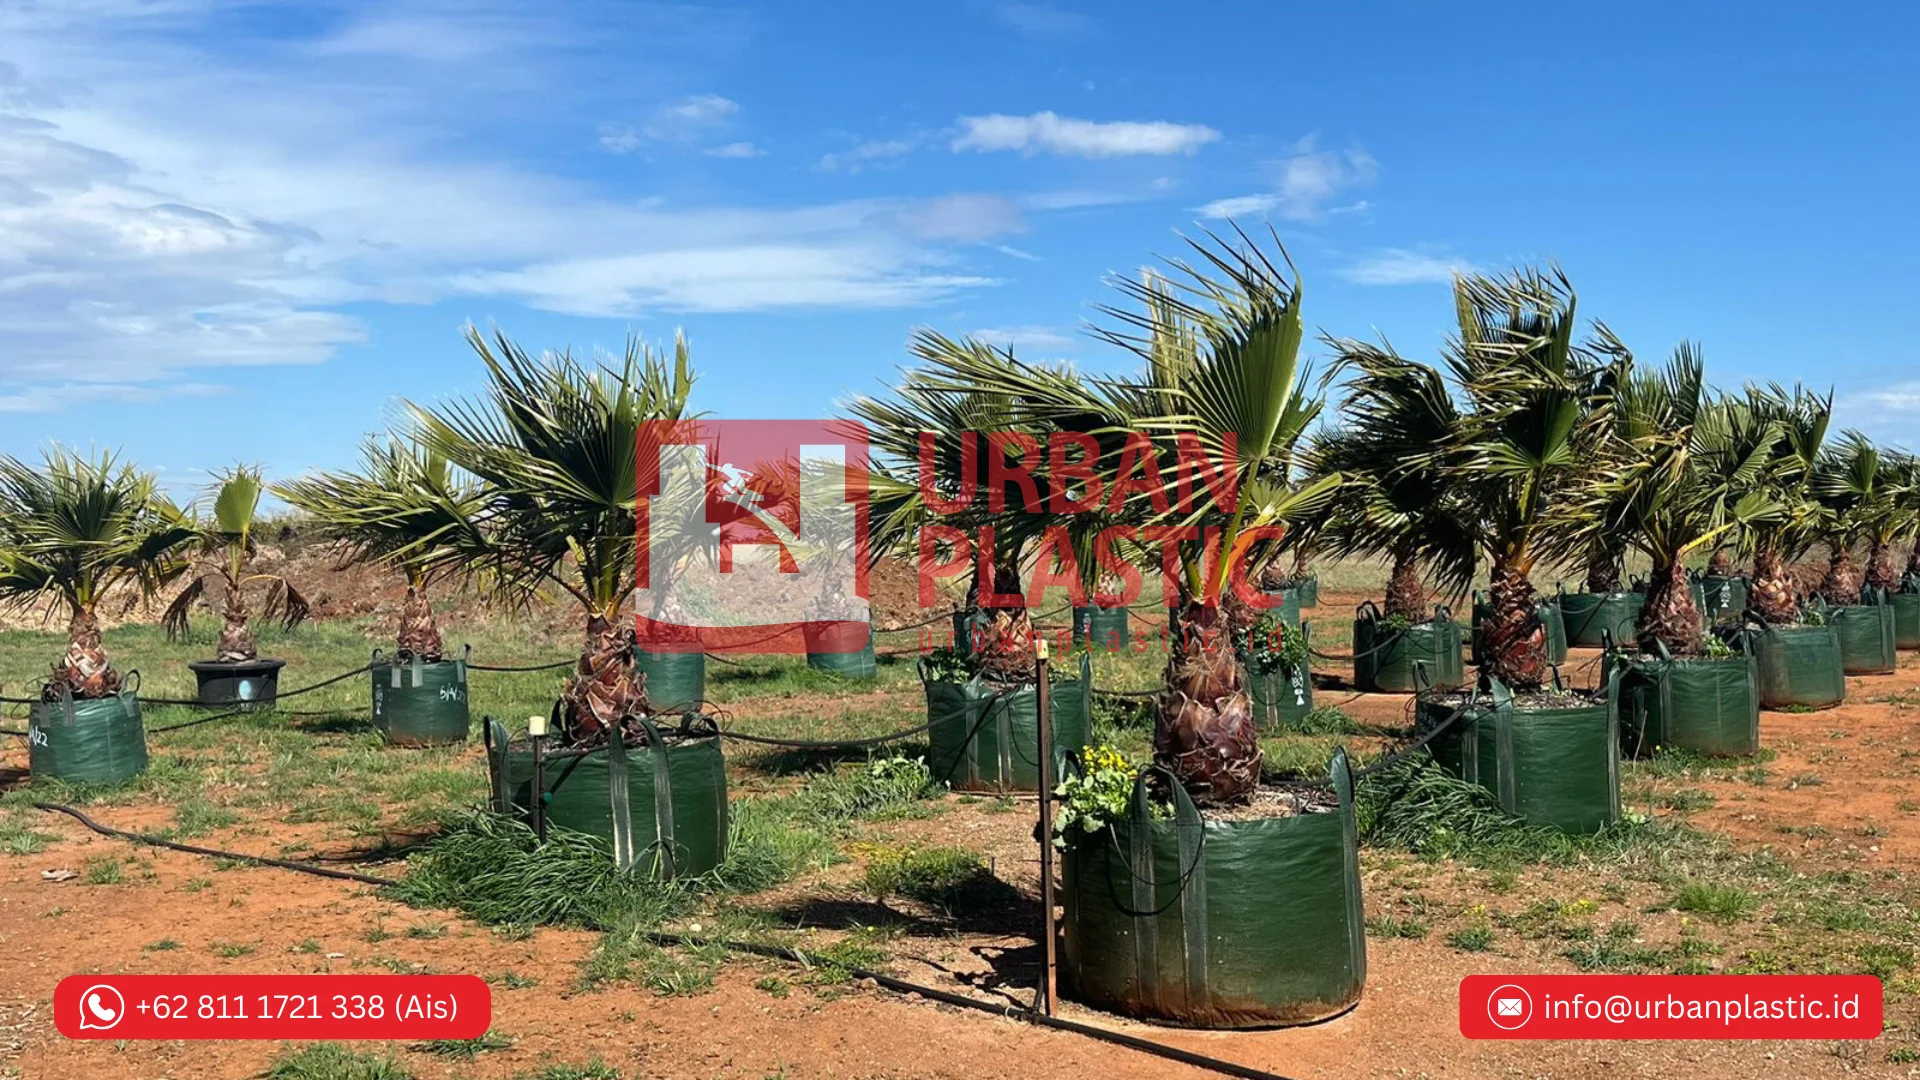
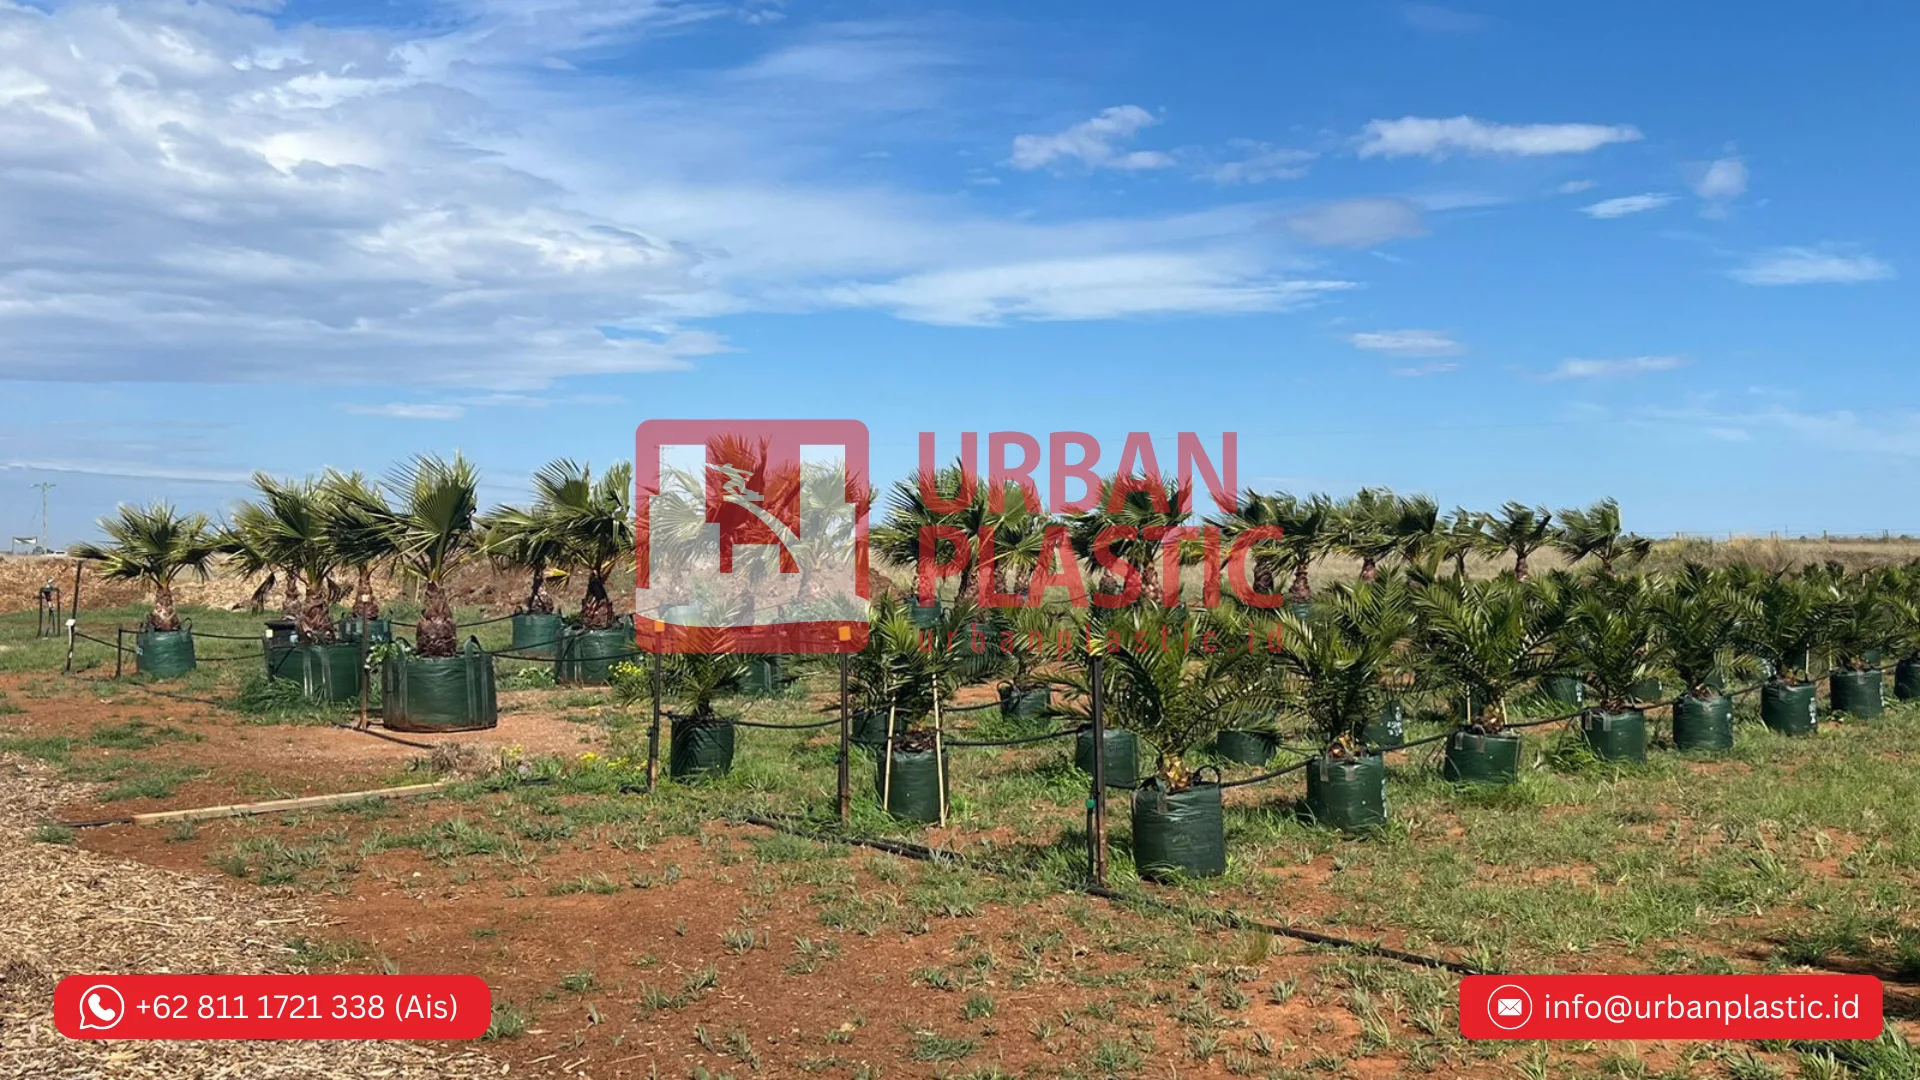
Unfold your bag and flatten the bottom so it stands upright. Begin filling the bag with your prepared soil mix.
- Fill the bag to about one-third of its capacity and press the soil down lightly into the corners to give the bag a sturdy, round shape.
- Place your plant or seedling in the center.
- Continue filling soil around the plant until you reach about 2 inches (5 cm) from the top rim. Do not fill it all the way to the brim; leaving a gap creates a reservoir that prevents water from spilling over the sides when you water.
Step 4: Watering Strategies
Learning how to use garden grow bag effectively means mastering the watering schedule. Because the sides are breathable, water evaporates faster than in a plastic pot.
- Water slowly: If the soil gets too dry, it can become hydrophobic (repelling water). Water will just run down the inside edges of the bag and out the bottom. To prevent this, water slowly. Give it a gentle shower, wait a few minutes for it to soak in, and water again until you see moisture seeping from the bottom.
- Check frequently: During hot summer days, you may need to water daily. Stick your finger two inches into the soil; if it feels dry, it is time to water.
Step 5: Placement and Maintenance
Because grow bags are porous, they can leave water rings on wooden decks. If placing them on a sensitive surface, consider putting a plant saucer underneath. Utilize the sturdy handles to move your plants around during the season to ensure they get optimal sunlight.
By following these simple steps, you will maximize the benefits of air pruning and superior drainage, leading to the healthiest, most productive container garden you have ever grown!
For more information about Planter Bag please contact: Whatsapp/Mobile Phone: +62 811 1721 338 (Ms. Ais) or Email : info@urbanplastic.id